This was a nice & rare 85 Turbo diesel car. It was in excellent shape and had alot of money put into the engine, so it was worth fixing up. The interior had been getting water in it and was smelly.
If you need us for services like this then contact us in the following link. —–> Contact page…..
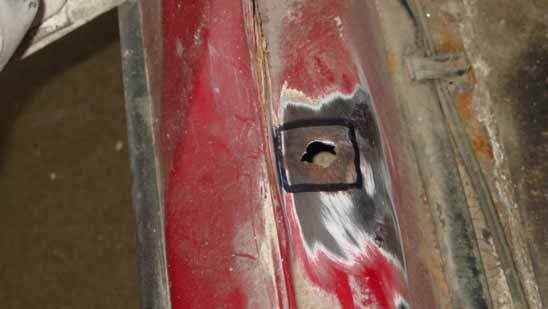
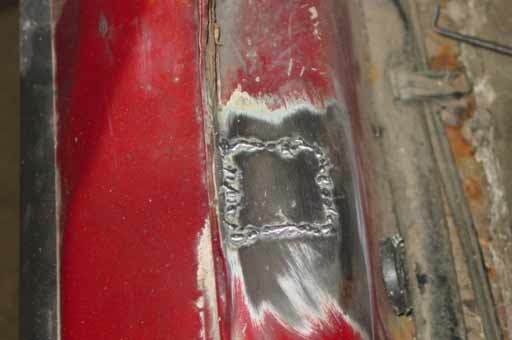
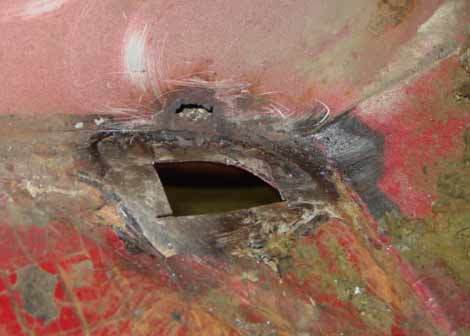
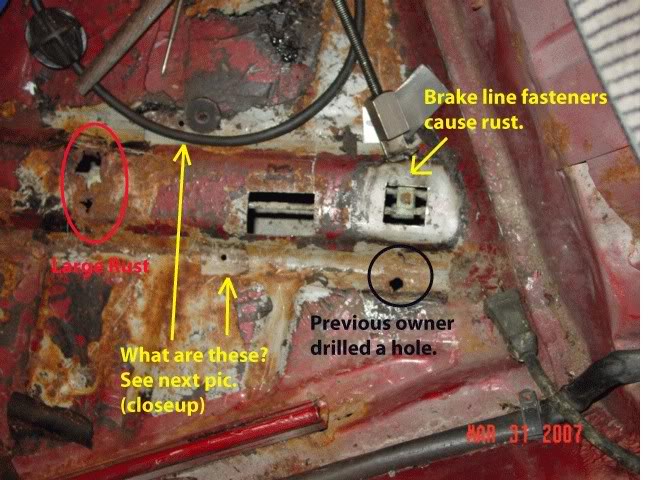
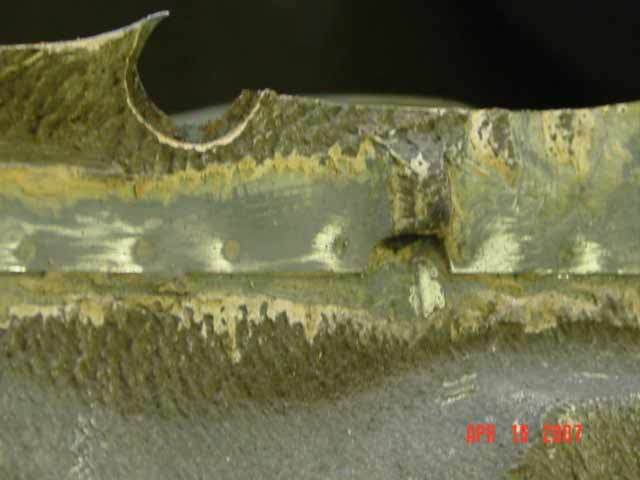
This is what we found initially. Rocker was rusted and previous owner drilled a hole for some reason.

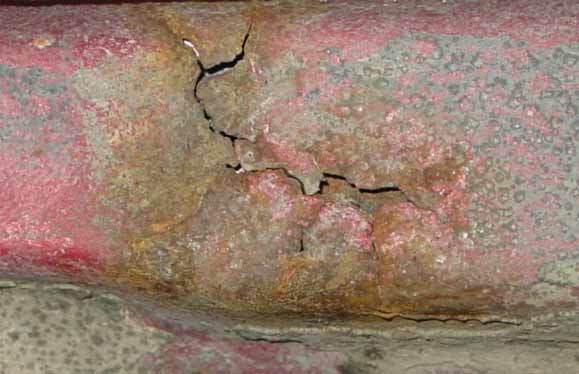
Here is a closeup of the rocker rust.
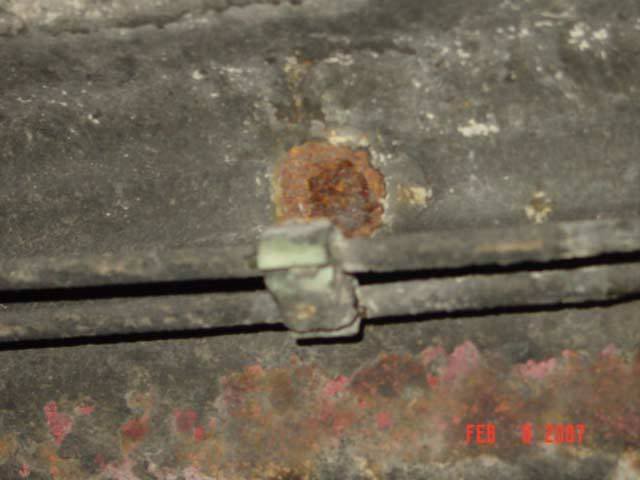
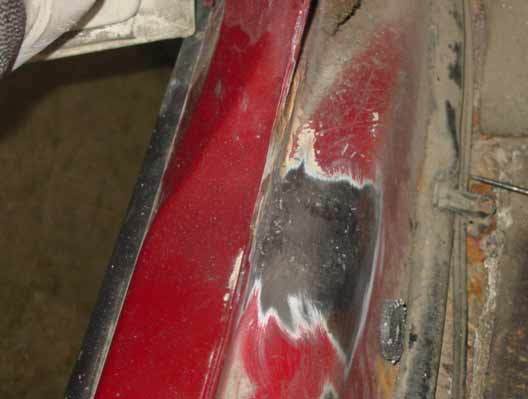
The brake line fasteners had caused some small rust holes. The dark spot in the middle of the rust is the caspet.
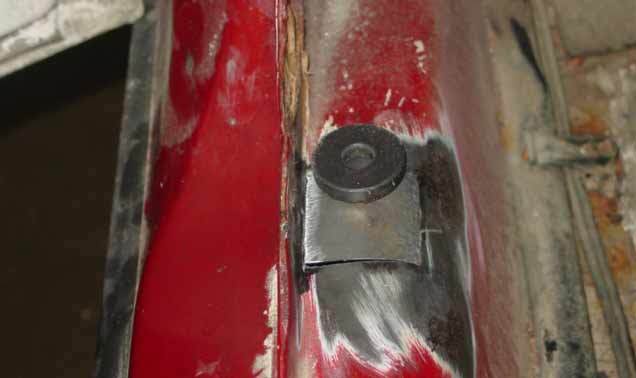
The threshold had rust around where the sill plate fastened.
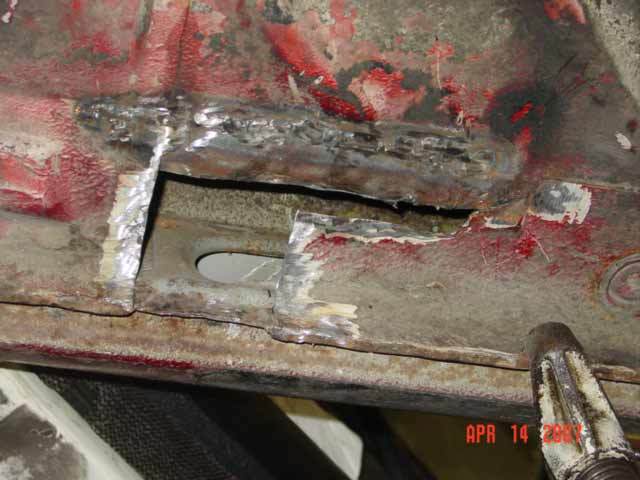
quick patch panel and a magnet to hold it.
Quick welds
And some grinding to make it nice.
Here’s rust from the right side after I cut out the rust
Didn’t take long to weld this patch in.

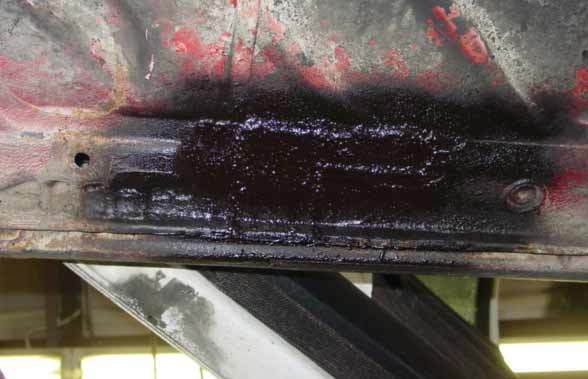
This side just got a quick prime, paint and undercoat. To keep costs down.
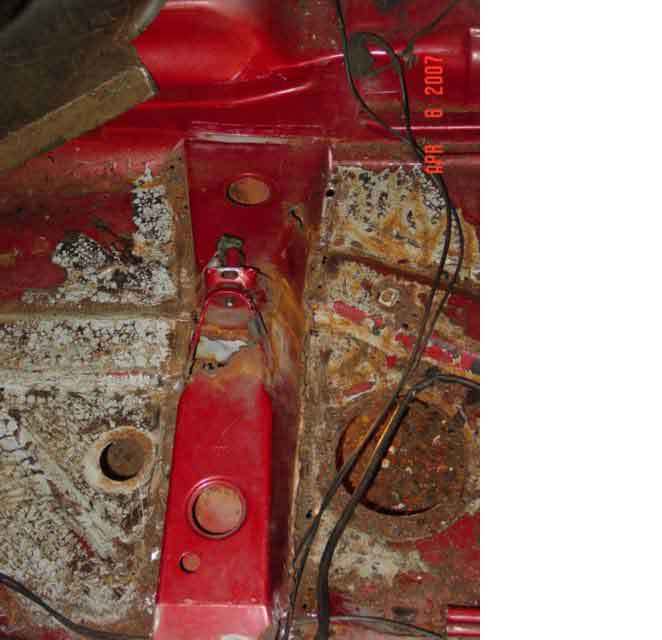
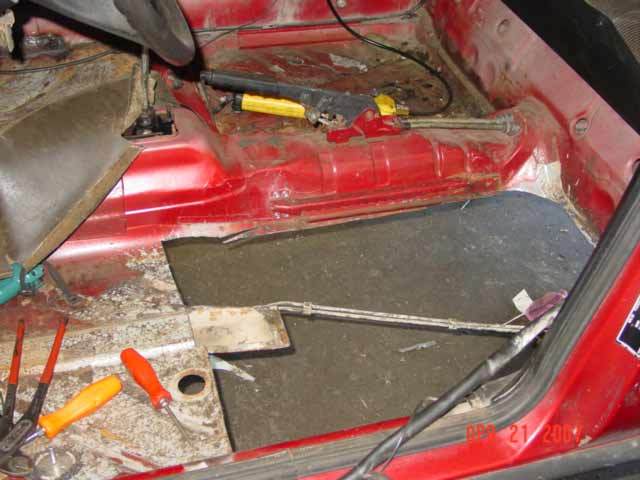
Here’s the rust from the front left floorboard area
It kept growing. Circled area is “tar” that I had to heat and scrape out. You can see inside that I treated the areas that didn’t require welding. The patch peice to the right took about 4 hours to make.
Trial fitting just before welding.
And welding it in. Tight gaps make it easer to weld. Circled areas not so tight.
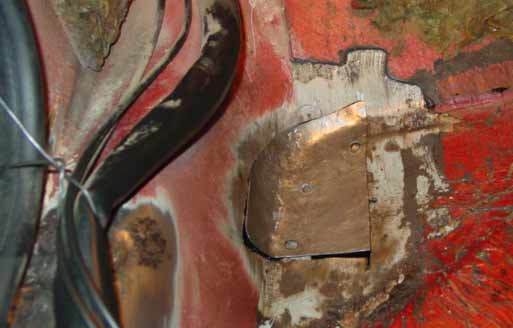
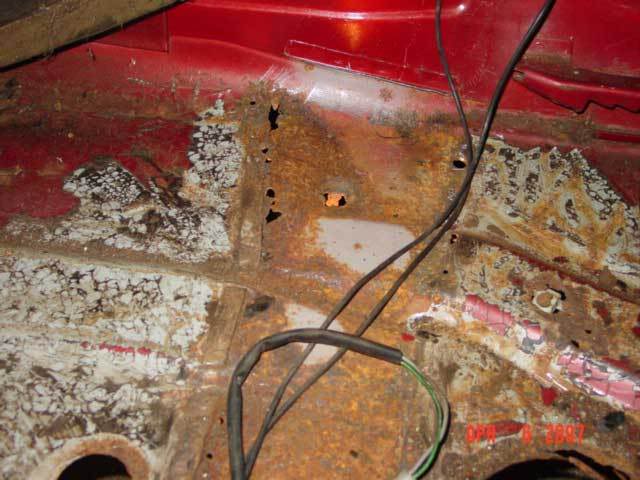
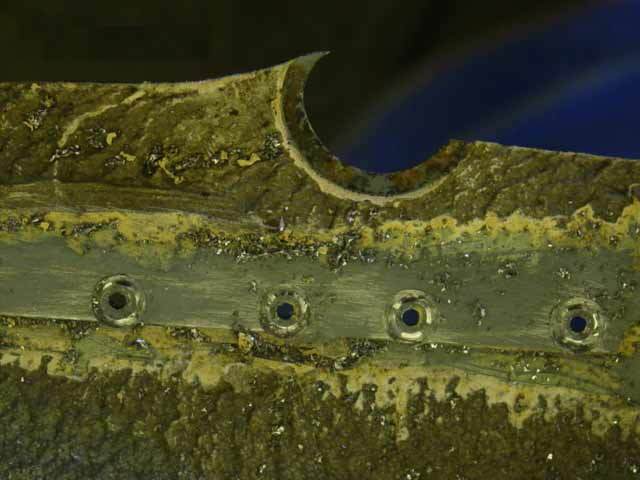
Here’s the left rear side. 3 good sized holes caused by brake line fasteners. A couple holes from the factory and a nice hole from someones drill.
I started off trying to patch the left rear side.

But I decided I would need a whole floor when I saw the following.
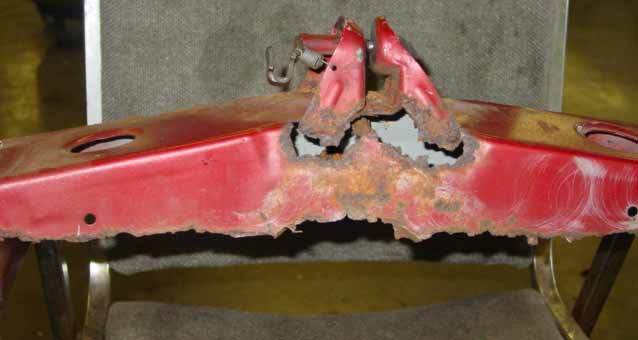
Floor pan with seat riser removed.
Seat riser in pretty rough shape.
So the decision was made to change most of the floor pan on the drivers side. None of the salvage yards wanted to mess with a car this old and I couldn’t find anyone to sell me one. I eventually found one in the pick and pull, and I took down a sawzall and a chisel and got it.

Had to take extra stuff off pan and prep for installation.
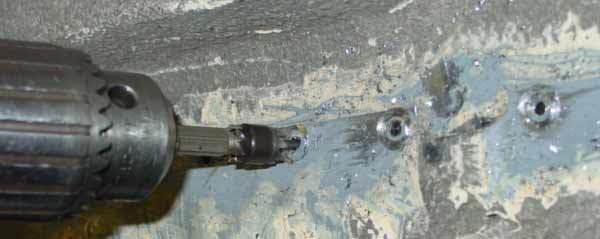
some work with a wire wheel to find the spot welds.
Drill a pilot hole in each spot weld…..
Then a little work with a spot weld cutter…..
And finally the extra piece is off.

Had to go through a bunch of work to remove the seat rail also.
The frame brace had to come off also. I was leaving the frame brace intact that was in the car and was planning on welding the brace to the floor pan so this piece wasn’t needed.

Cut the floor pan out.
And putting in the new floor pan. This website makes it seem like its easy but simply trimming the pan to fit and welding it took a good 8-10 hours.

If you need us for services like this then contact us in the following link. —–> Contact page…..