Mini
Cooper Clutch Replace in Kansas City
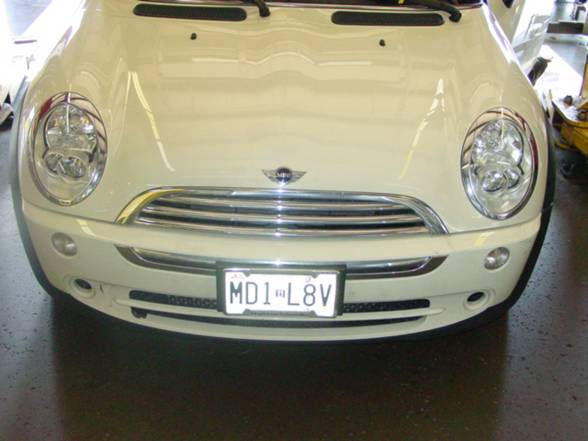
2005 Mini
Cooper 1.6L
Just from a little reading on the internet
anyone can tell these clutches don’t last.
Just Google it and you’ll see lots of early
failures that the dealer will always blames on driving habits.
My customer had went to the dealer and they estimated a replacement clutch
at $1400. He said he bought the car for
its “go-kart” like handling, but he was upset because it didn’t have “go-kart”
maintenance costs. It was more like BMW
or Mercedes costs.
This clutch was slipping
badly! I could barely make it around the
block. The trip from the dealer to me
almost was too much for it.
Clutch work on a 05 Mini is
a little intimidating to the DIY’er due to….
1. When
you open the hood you cant even see the trans due to
“stuff” crammed in there.
2. Bumper
cover and structure removal necessary
3. Engine
support necessary due to subframe removal
4. Large
subframe removal
Well despite dealer high cost
and intimidating factors I can do these clutches for $500 plus parts. Contact me through email if your interested in me doing this for you.
There are many clutch options from OEM to spendy performance clutches. Research what you need taking into account
your driving habits and your tolerance of the risk of repeat failure, and we
can discuss what parts to get.
While this page isn’t meant
to be a complete “how-to” it could help the DIY in familiarizing himself with
the basic processes necessary and to remove the intimidating factors associated
with clutch work.
Intimidating factor #1: When
you open the hood, you can’t even see the trans
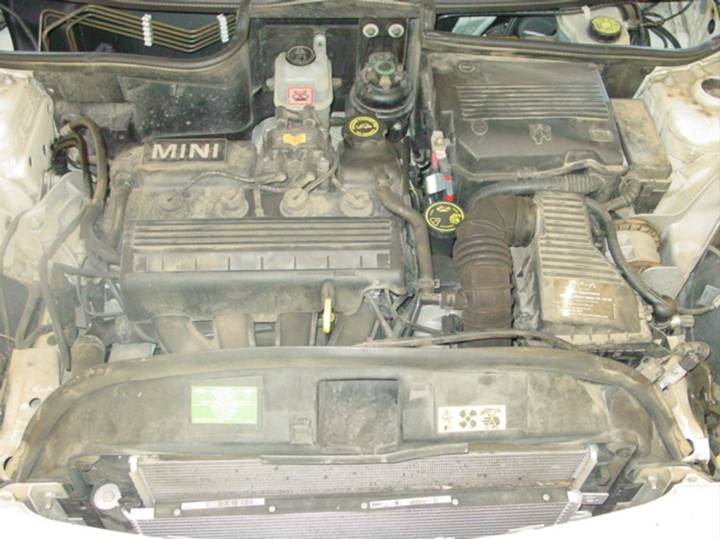
Fortunately in order to
access the trans you only need to remove the breather
and battery box. Any novice can
accomplish these tasks.
Once they are out you can
access the top bell bolts, the mount and the shifter cables and other
associated “stuff”.
Intimidating factor #2: Bumper cover removal.
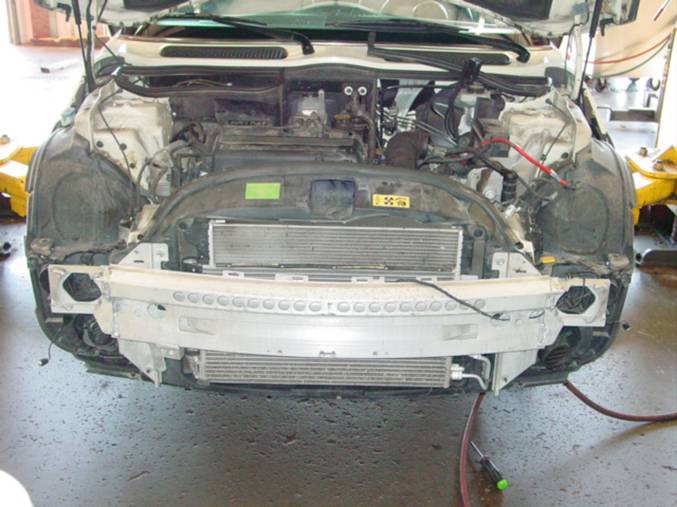
Although it looks like your taking
off the whole front of the car, its just a few screws.
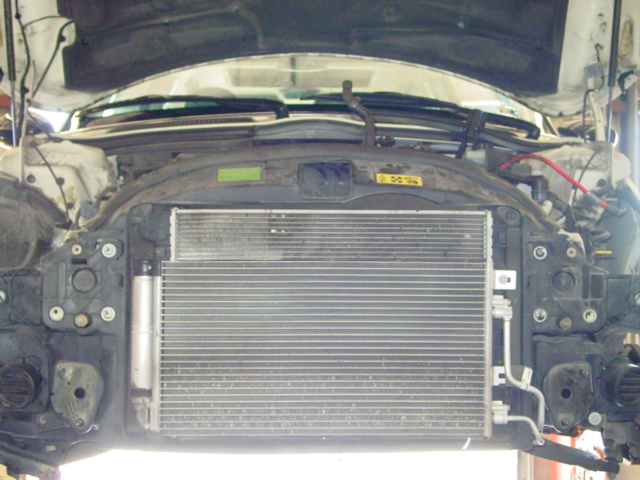
After you get the bumper
cover off you take of the bumper.

Somewhere in here you should
remove the inner fender liner.
Intimidating factor #3: Engine support

Engine hangars are
everywhere. Cheap ones
from china, nice ones from snap on, homemade steel ones. Lots of folks make their own with 4x4’s or
6x6’s. I would suggest whatever you do
make sure it’s safe. On this one since
we were on a lift we just put a “lift style” jackstand
under the pan with a 2x4 to protect the pan.
If your doing this on jackstands you could use
a jackstand under the engine but that makes it
difficult to lower the engine just enough.
A hangar is the preferred way.
If you using support from
underneath like this then don’t take the trans mount
out till you have the subframe removed.
Shop manual says to use
Special Tool Number “xyz” to hang the motor, but it’s not really necessary. A chain works just fine.
Shop manual also says only
to lower the trans 40 MM. Which is fine, but they scare you to death
saying it’ll damage exhaust, hoses ect
if you lower it more. Here’s what I
did. Only lower it far enough for the trans to clear the body as you move it away from the
engine.
Intimidating factor #4: Subframe removal

Oh ya,
its big.
Oh ya,
there’s a lot holding it on.
There’s even some “reverse torx” bolts.
There are 4 reverse torx on the rack and pinion. Heres a pic of two of them.
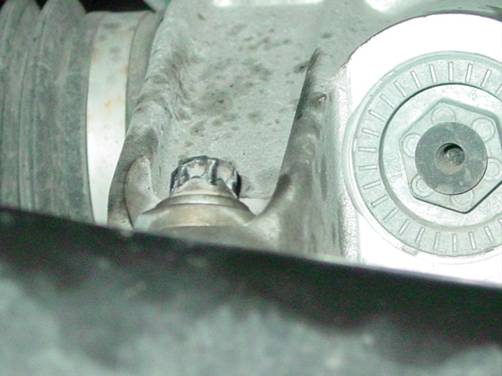
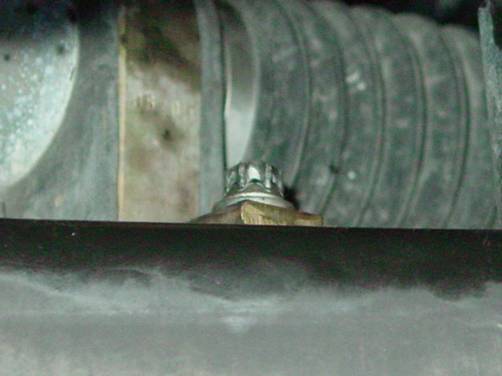
Heres’ the socket you’ll need. The size you need is E12.
These
are available in a small set at your Friendly Local Auto Parts store.

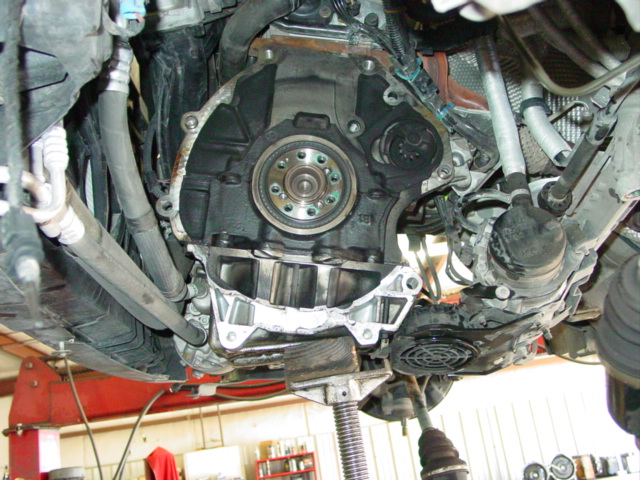
Here’s the shot with the trans out of the car.
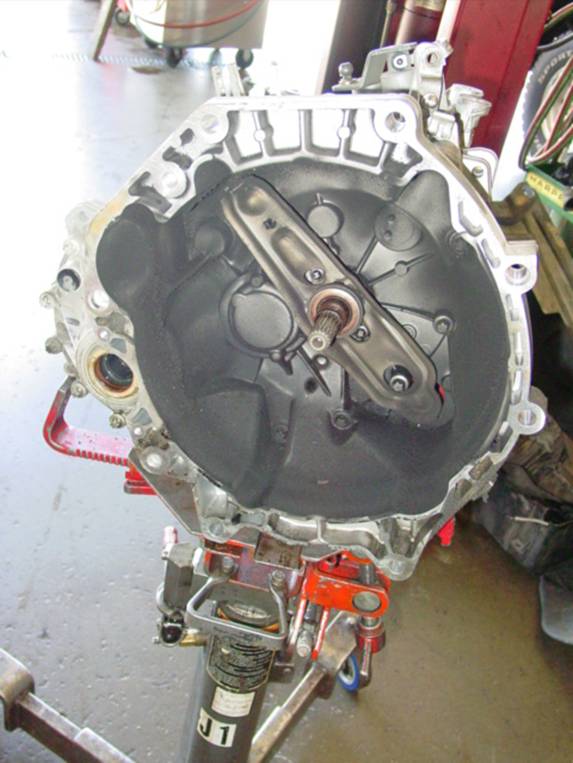
Trans
out on jack.
It’s a light trans if you don’t have a trans
jack just lift it out with the help of a buddy.
Honestly though, it’s a
go-kart trans!
If you’re a big guy you could lift it out by yourself. But that wouldn’t be safe, would it?
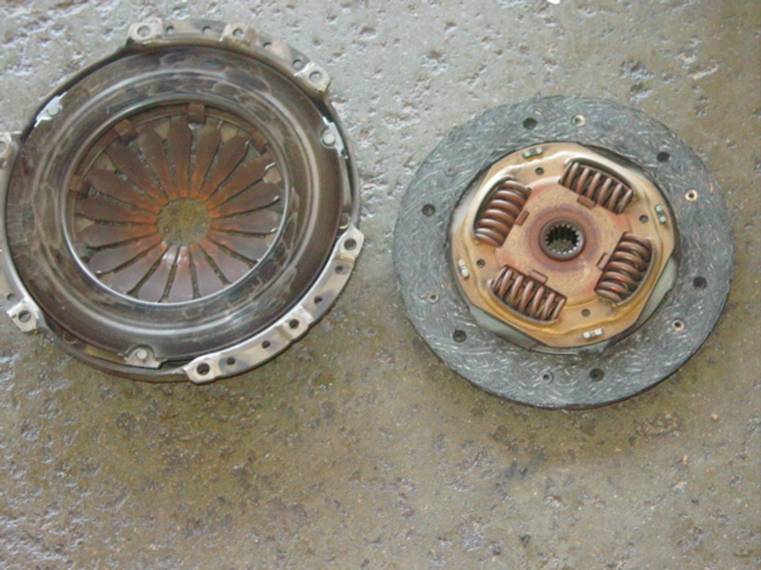
Here, we found the problem
with our customers car! Its got a “go-kart”
clutch in it!
Very burnt clutch disk and
pressure plate
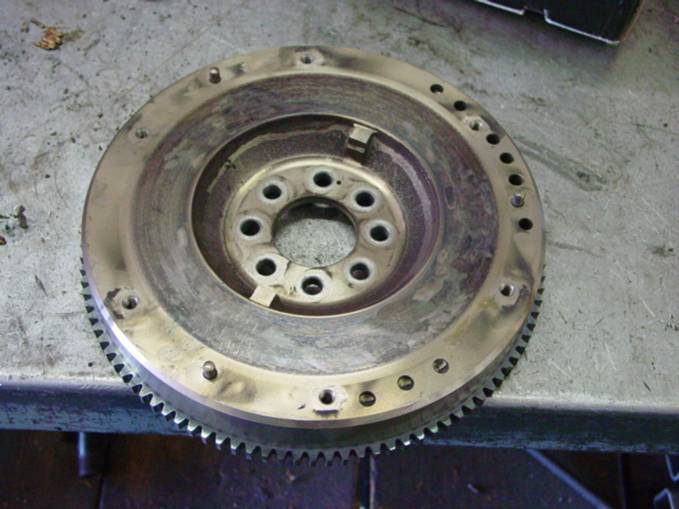
Flywheel has heat cracks and
wear. Resurfacing is a must!

Flywheel
to crank bolts pass all the way through into the oil
jacket. Don’t be surprised when a little
oil comes out of them. Don’t
misinterpret this as a rear main seal leak.
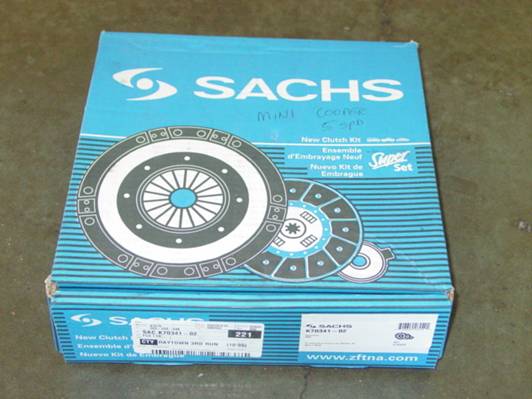
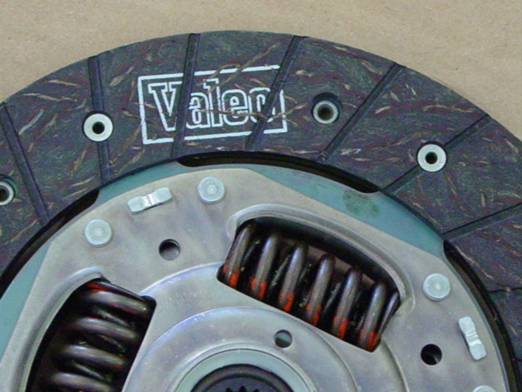
This
customer went with a OEM SACHS clutch.
Its not unusual but its funny when you open a
Sachs box and find a valeo clutch in it.
Luk, Valeo and
Sachs are all OEM suppliers.
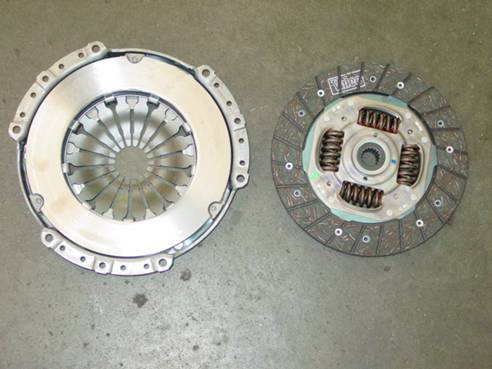
New parts nice and shiney.
Be
sure to pull the fork and put a little grease on the pivot point.

I
forgot to get a pic of the flywheel after
resurfacing. When I get one later I’ll
insert it here.
All
in all it was a pleasant experience working on this car. There is no way this job is worth the cost
the dealer was wanting!
The
best part of the job on a neat car like this is the test drive. I’m officially a mini-cooper fan!